Your Project Store for Plastics, Resins, Coatings, & Composites


About Us
Who We Are
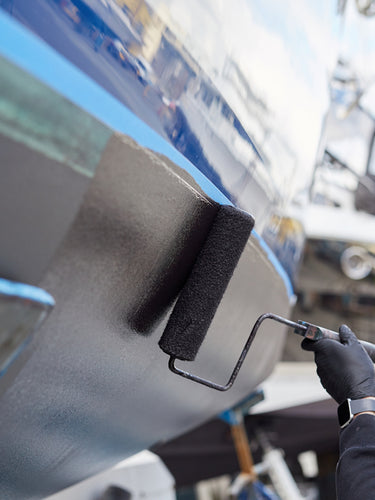
Industrial Plastics & Paints is Your Project Store for Plastics, Resins, Coatings & Composite Materials for Makers, Manufacturers, Artists, Educators, and the Professional Trades located throughout Western Canada.
Delivering Innovative Products, From Top Quality Brands That Solve Unique Problems in Industry.
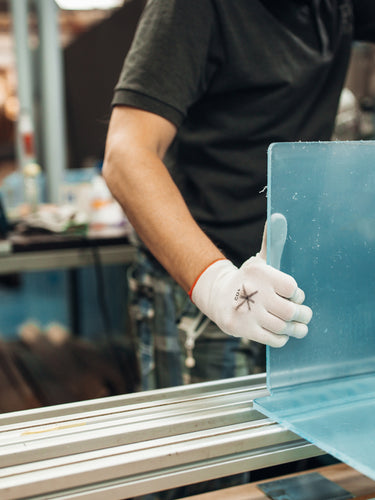
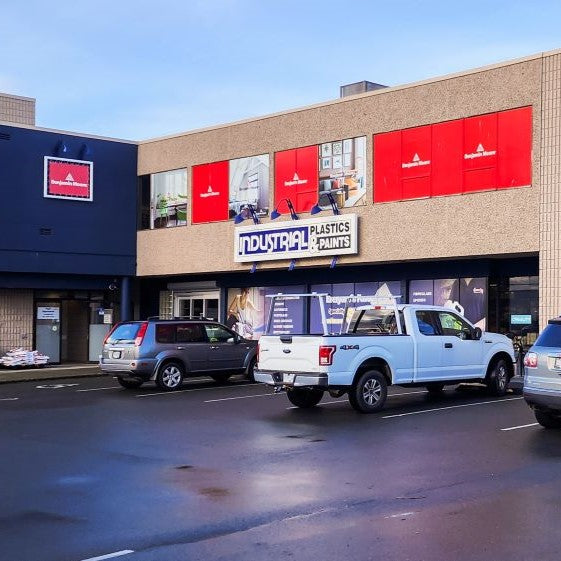
7 Locations serving Western Canada for over 70 years. Industrial Plastics & Paints has been Western Canada’s supplier of specialty materials for projects, maintenance, and construction. Our local retail stores are open to the public, with knowledgeable staff to help you source and select the right materials to get the job done. Each of these stores is also a full-service fabrication shop, offering a variety of plastic fabrication services, from cut-to-size sheet to fabrications to your custom specifications.

Secure Shopping
Secure SSL Browsing and Checkout


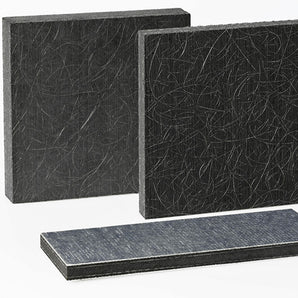
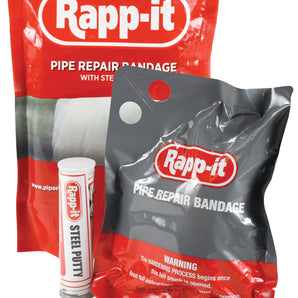

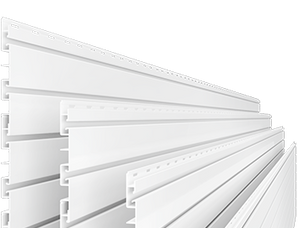
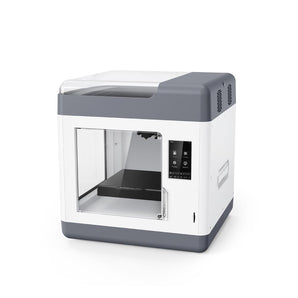
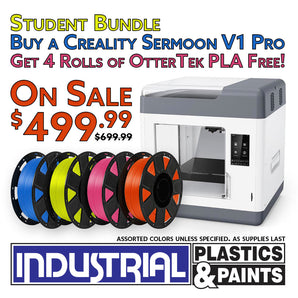
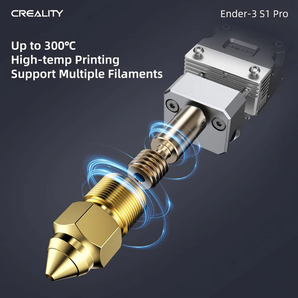
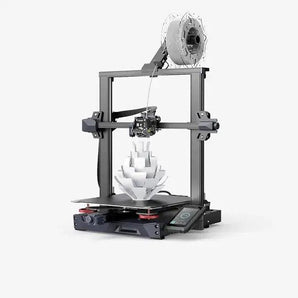


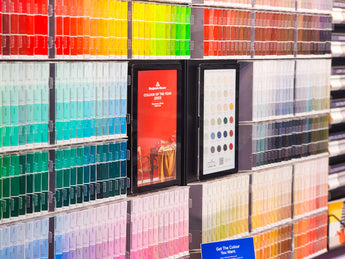
Shop by Trending Category

 Value for Customers
 Delivering solutions, every click unlocks innovation.
 Where cutting-edge meets convenience for a future-ready journey
Value for Customers
Delivering solutions, every click unlocks innovation.
Where cutting-edge meets convenience for a future-ready journey
Value for Customers
Delivering solutions, every click unlocks innovation.
Where cutting-edge meets convenience for a future-ready journey
Where cutting-edge meets convenience for a future-ready journey
Value for Customers
Delivering solutions, every click unlocks innovation.
Where cutting-edge meets convenience for a future-ready journey
Value for Customers
Delivering solutions, every click unlocks innovation.
Where cutting-edge meets convenience for a future-ready journey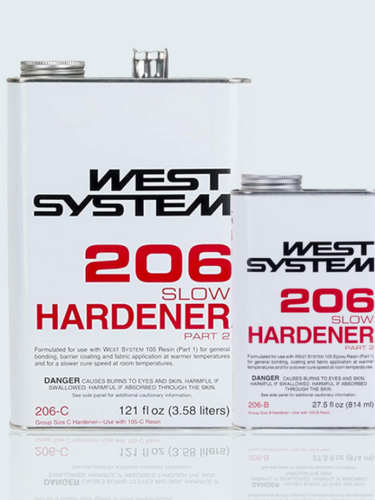
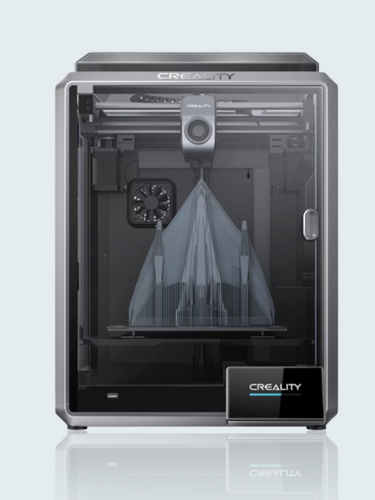
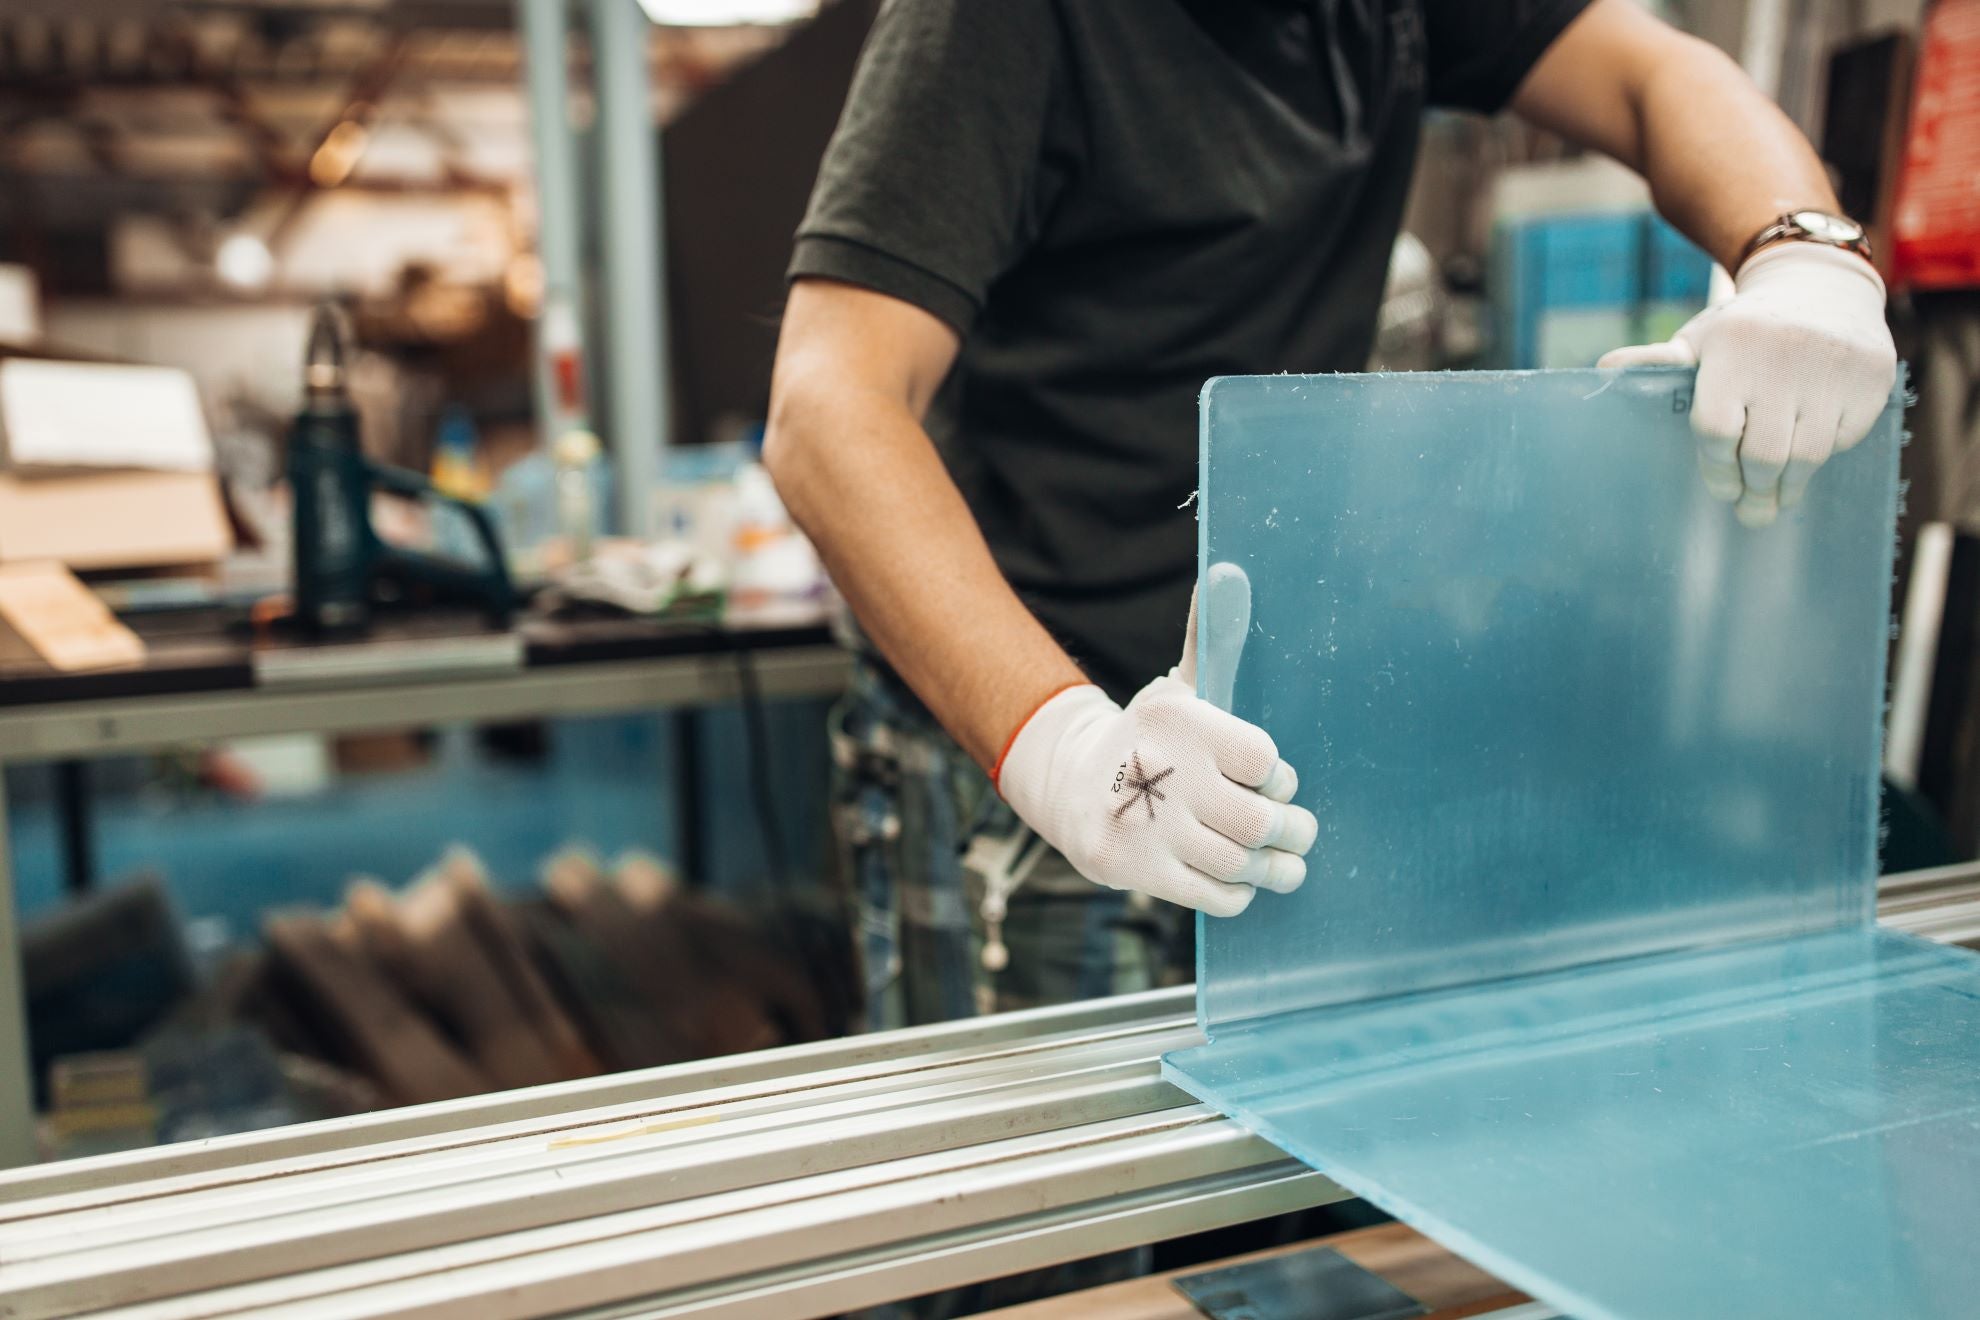
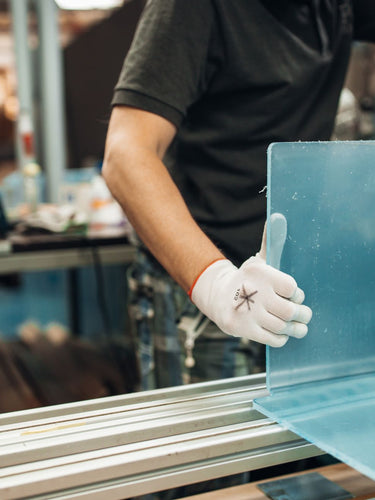
Custom
Fabrication Services
We have in house fabrication shops in all our locations that can make your design a reality.

Custom
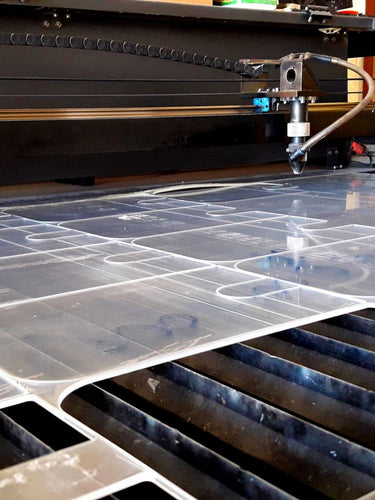
AC Window Cutouts
We fabricate Plexiglas Air Conditioning Ventilation Window Insert Panels


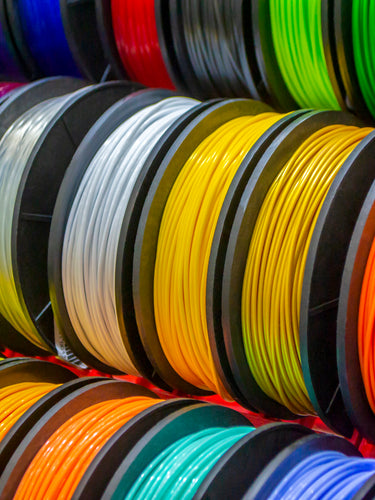
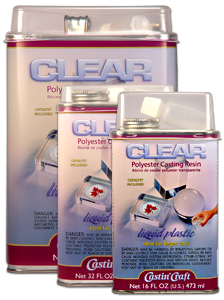
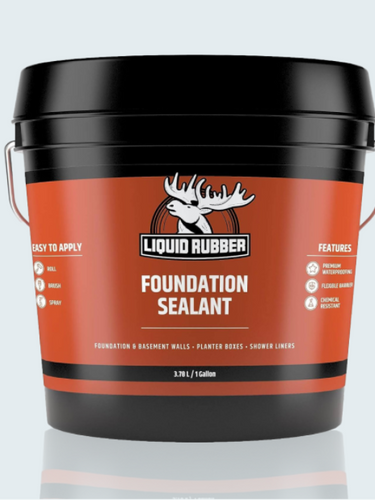
Shop By Brand
All your favorite brands in one place


Blog
Your gateway to practical insights and trends.

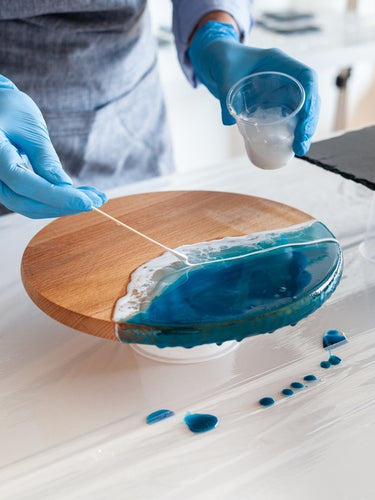
What is Bio-Renewable Epoxy?
Bio-renewable Epoxy, of the type offered by Canadian manufacturer, EcoPoxy Inc. is a line of engineered, industrial grade, 2-part epoxy resins,...

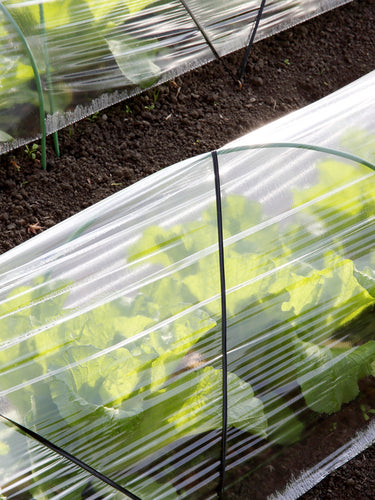
TrackTack® Soil Tackifier and Stabilizer for BMX race tracks, bike parks, trails, & pump tracks.
TrackTack® is an essential component in sealcoating or slurry coating to reduce maintenance, dust, and erosion on all natural surfaces. Great...

Plexiglas Air Conditioning Ventilation Window Insert Panels / 4 Easy Steps to Complete Success!
Your #1 source for fast, reliable custom-made Air Conditioner Window Inserts is just a few steps away. When you work...